Dark somnia forum set
any similarity
to another tutorial is strictly coincidental
please do not copy my work or claim as your own
supplies needed
paint shop pro i used psp9 but any will do
A mask
a font
a cluster frame
a scrap kit
i used the beautiful PTU kit
from Digi Mania
called Dark somnia
if you purchase this kit you will recieve the cluster frame shown on the tag free
i used the Awesome art work of © Misticheskaya
this is a PTU tube psd
you can purchase the tube HERE
lets get started :o)
open a new raster layer 1000x1000
we will resize later
open your cluster frame
choose a paper from the kit
and copy/paste as new layer
erase any of the paper showing around the outside of the frame
using elements of your choice
place around the frame
(see mine for details )
add your tube
and duplicate
on your original tube layer effects/plug in /xero /porcelain
with settings below
on your copy layer
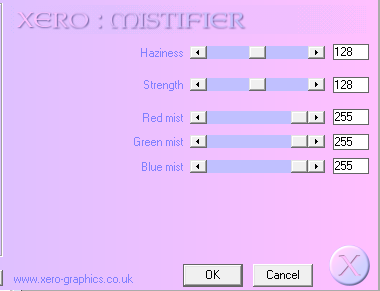
effects/xero/mistifier
with settings below
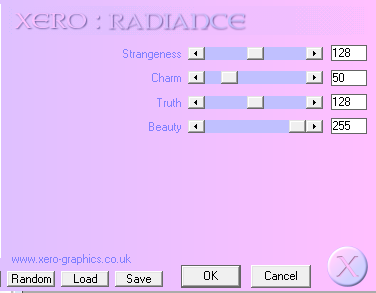
again on copy layer
effects/xero/radience
with settings below
i added a few elements from the kit behind the tube
you can also do this
once you have
placed all your elements where you want them
layer/merge/merge /visible
find another different paper and /copy/paste as new layer
go to layers /load save mask
find your mask and load it making sure the fit mask to layer is highlighted /clicked
once you have loaded your mask on your layer palette right click mask layer and merge/merge group
duplicate this layer and image/flip/mirror
now move your mask so they can be seen just behind your tag
adjust/noise/ 100%
repeat this on the other mask layer
x out in layer palette both mask layers
and duplicate your tag layer
on your original tag layer
go to adjust / blur /Gaussian blur 20
merge /merge visible
add your name and copyright info for artist
if you are using a ptu tube and have a licence number dont for get to add that also
un x your mask layers
merge merge visible
taking a colour from your tube
make a rectangle to use as a frame for your banner
repeat as above omitting the mask layers
only you must always add your artists copyright information
again add your name and merge /merge visible
repeat this with a close up iof your tube
and making a new frame repeat with your avatar
you will find you wont be able to place any elements
as there wont be room
( see mine for help )
once you have completed you can now resize
for the tag i recommend 600x600
for the banner 600 width
for the avatar 200 height
thats it your done you now have a forum set for you to use and show off to your friends
hope you enjoyed this tutorial :o)