Passionate Kiss - Man Eater

any similarity
to another tutorial is strictly coincidental
please do not copy my work or claim as your own
supplies needed
paint shop pro i used psp9 but any will do
two masks
a font
a template
by Sue
from creative misfits
you can find the template HERE
a scrap kit
i used the beautiful PTU kit
from Digi Mania
you can purchase HERE
i used the Awesome art work of © Keith Garvey
you can purchase the tube HERE
lets get started :o)
Find your template and open in psp
image/ canvas size enlarge to 1000x1000
on each of your template layers in turn /image / enlarge by 120 %
once you have enlarged your template
open your scrap kit and choose a paper
on your rectangle layers on template go to selections/select all/selections/float/selections defloat
copy your paper
on your template right click choose paste into selection
repeat this until you have filled each of your boxes
open your tube of choice and copy / paste as new layer drag your layer above the square layer on your template
once you have positioned your tube
go to layer pallette and duplicate tube layer
on original tube layer
effects/plug ins/ xero/ porcelain
as shown below

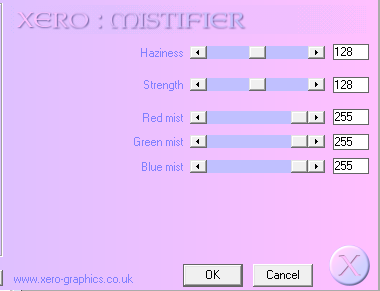
now on your copy tube layer again effects/plug ins/xero/mistifier
as below
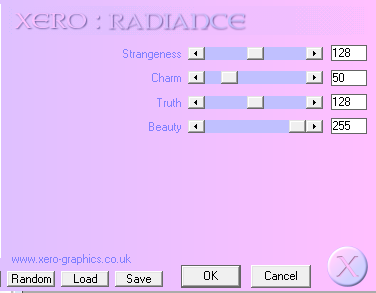
again on your copy tube layer
effects/plug ins /xero /radience
right click on your copy tube layer and merge/merge down
add a drop shadow of choice
now add your elements of choice
place them where you like them and resize if needed
add a drop shadow to your elements
add your name and tube information and copyright
layers/merge/merge visible
duplicate your merged layer and on your original merged layer
adjust/blur/Gaussian blur at 20%
i used a diamond from the kit and then used
mura miester /copies /tiling
if you have something similar you could use the same
find a nice paper from your kit and copy / paste as new layer then drag to bottom
layers/load/save mask
find your first mask and load it
on layer pallette merge/merge group
move your mask layer to the left
now duplicate mask layer
image flip/image mirror
again another paper and repeat using a different mask
again merge /merge visible
and thats it your done
hope you enjoyed this tutorial :o)
thank you for looking
No comments:
Post a Comment